 Fake-A-Gamo Bag.
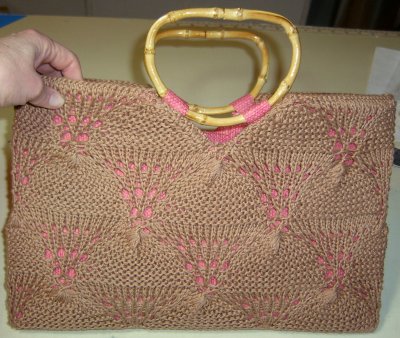
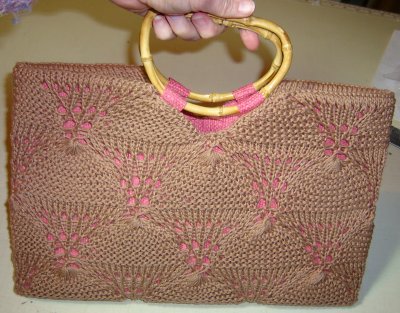
I finished this project this evening. I'm rather pleased with it, and although I didn't plan in the beginning to stray quite this far from the original, I rather like the outcome.
I used Pellon Peltex 72x double-sided fusible for the shaping, and covered both sides with the chosen lining fabric. I then trimmed one side of the lining to the size of the fusible and turned the other side over it and stitched. This created a thing rather like a very sturdy placemat, to which I attached pockets and then zigzagged the side edges off the edge, so it's kind of like a flat-locked seam.
 Inside Bag
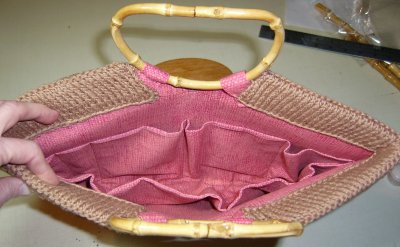
I had planned to use straight bamboo rod handles, but they didn't work with the very stiff shape, and so I tried a lot of different shapes and ideas, and came up with the D-ring bamboo shape upside down. I attached the handles with 2 lengths of turned tube each, stitching the ends before attaching the knitting to the lining.
I sewed the 2 knitted pieces together on 3 sides, then handstitched the top edge of the lining to the appropriate point on the knitted pieces, and finally handstitched the knitted facing to the inside.


13 comments:
Very pretty, Liana!! The lining really shows off your beautiful work.
Another awesome project! Sally
Wow! It's beautiful, I love the pink lining for this bag. Very professional job!
What a great job!!! Very clever and pretty.
Very cute!
Very pretty Liana, I love the lining you chose too. The inside is just fab too.
Wow - fantastic job!
Killer knockoff! This is boutique worthy.
Gorgeous! Great job.
Great job. I agree with Debbie C the lining truly shows off your talented knitting skills.
Better late than never - I love your version of this bag (I've got the pattern laying around too, wouldn't you know I've not done a thing with it). Yours looks amazing!
i am working on the bag, too and was wondering if you could help me in shaping the handle. i'm a newbie and can't understand the instructions after binding off the 3 center stitches (... continue to bind off one stitch at each handle edge every other row five times). i'm at a loss so my project is at a stand still.
thanks.
andrea
Andrea, Your handle edge is in the center, so after you BO the center 3 stitches, work each side separately. Every time you are going away from the center, BO another stitch on that row. Do this 5 times. Since you can't BO at the end of a row, it will be every other row by default. I did mine a little differently, but this should get you the original look. HTH!
Post a Comment